Manage a Promise to Pay
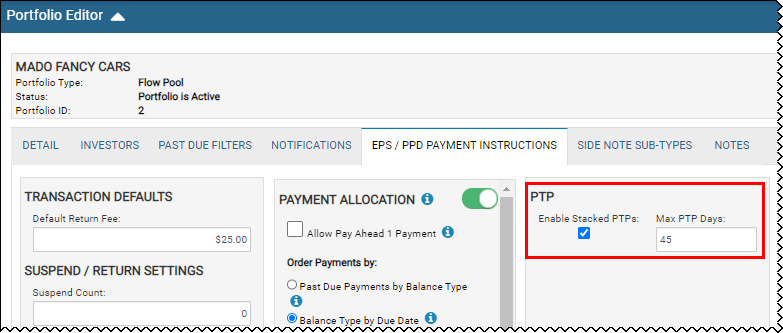
If a customer promises to make a payment, you can add the information in Accounts. If a promise is stacked with the others on the account, that means if one promise is broken all promises are broken. When you add a promise, you can choose whether to include the promise in the stack by checking the box.
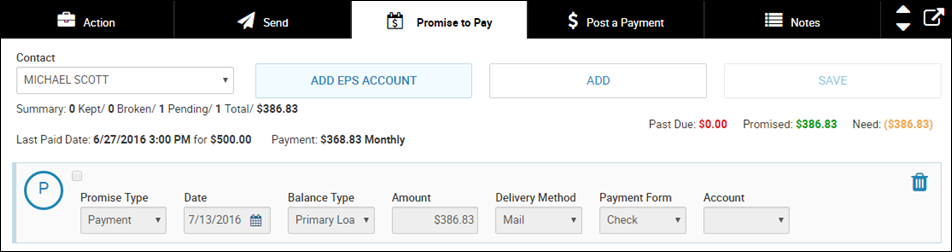
The Promises section shows you a summary of promises, how much is past due, promised, and needed. The promises are color coded to indicate whether they have been kept, are past due, or pending. In the following example, one promise on the account is pending and not yet broken or kept.
This video provides an overview of payment options in IDMS.
To add a promise
- From the bottom navigation bar on any Account page, click Promise to Pay.
The Promises section appears.
- Choose the contact person.
- Click Add.
New promise fields appear.
- Choose the Promise Type, such as a payment or insurance.
- Choose the Date the customer promises to pay.
- Choose the Balance Type, such as primary loan.
- Type the Amount.
- Choose the Delivery Method of the payment, such as walk-in or phone.
- Choose the Payment Form, such as credit card or cash.
- If you chose IDMS EPS as the form of payment, choose the account associated with electronic payments.
- Type a Note about the promise.
- Click Save.
From here, you can also:
- Click Add EPS Account to set up a future electronic payment system payment method. See below.
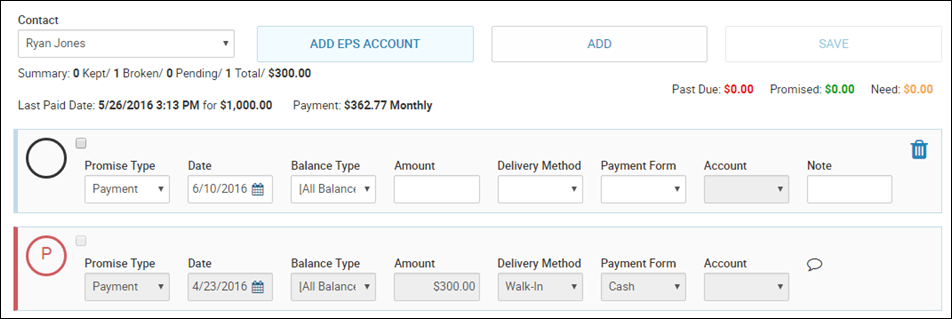
- Click the Delete icon
 to delete a promise. The Delete icon is not available on a promise that is broken or kept.
 - Click the Chat icon
 to view the note associated with the promise.
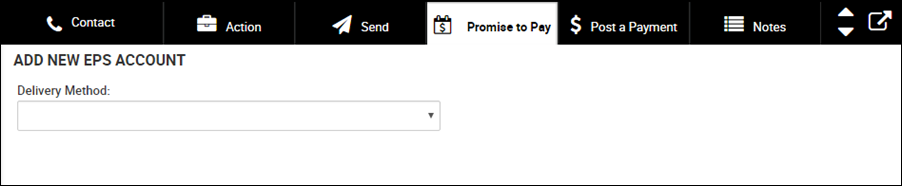
To add an EPS account for future payments
- Click Add EPS Account.
The Delivery Method field appears. This field is required.
- Choose the Delivery Method.
Remaining fields appear.
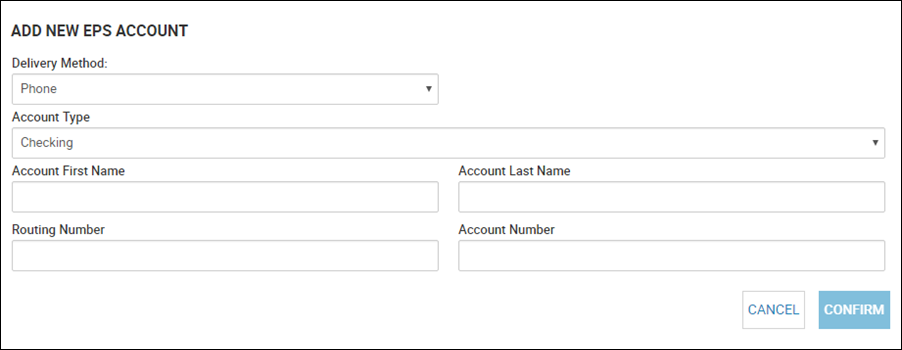
- Select the EPS account type.
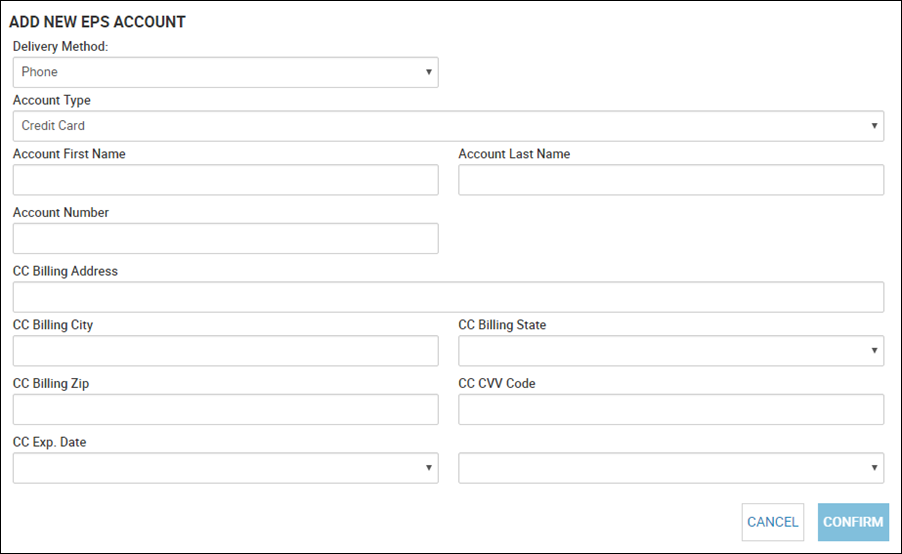
- Complete the fields, and click Confirm.
You return to the Promises area.