Customize My Dashboard
- From the Institution Dashboards section, click the View icon
 next to your dashboard.
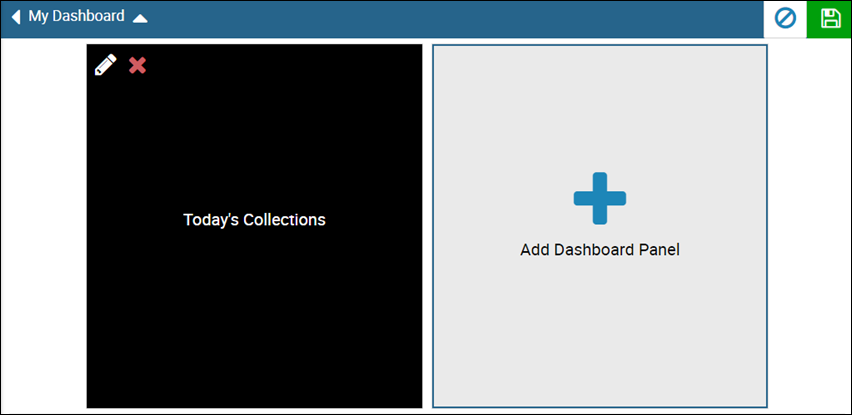
Your dashboard opens. In this example, the dashboard is still empty.
![]()
- Click the Settings icon
 to choose the information you want to display.
The Add Dashboard Panel option is available.
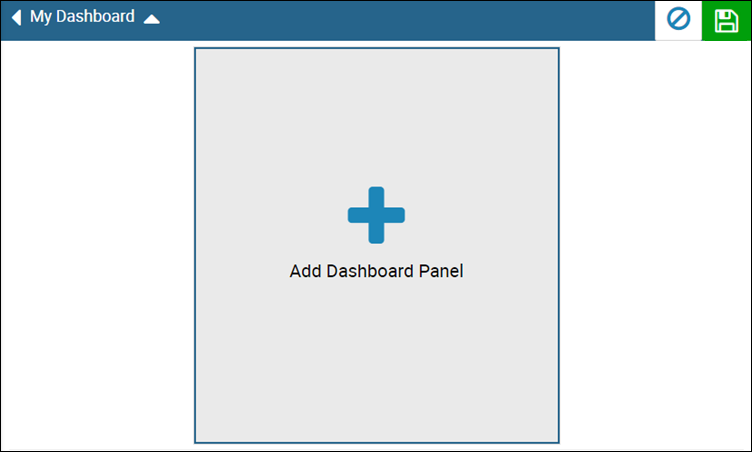
- Click Add Dashboard Panel.
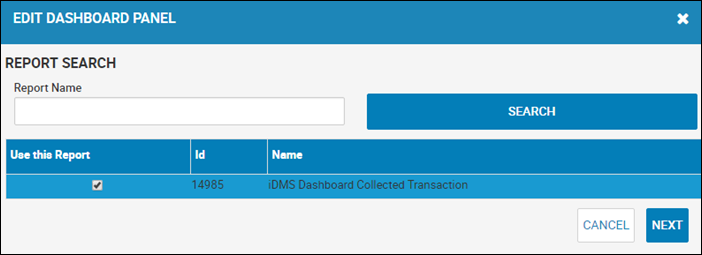
The Add Dashboard Panel pop-up window opens.
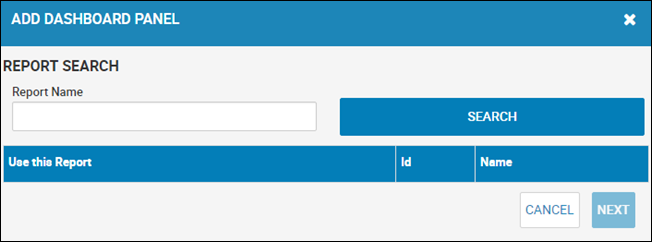
- Type a portion of or the entire report name, and click Search.
A list of reports matching your search appears.
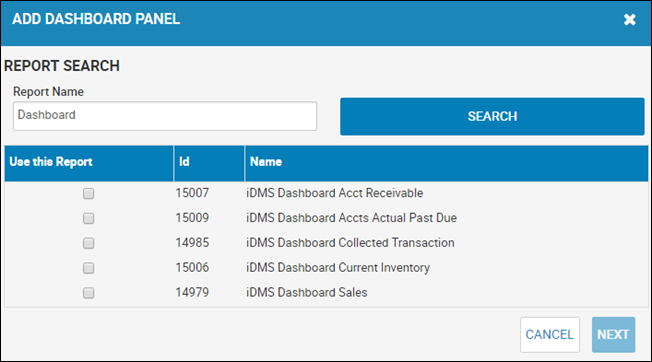
- Check the Use this Report box for the appropriate report name.
- Click Next.
Depending on the report type you selected, either the Parameter Selection section or the Layout and Title Selection section appears. Go to Step 8 if you do not have parameter selection.
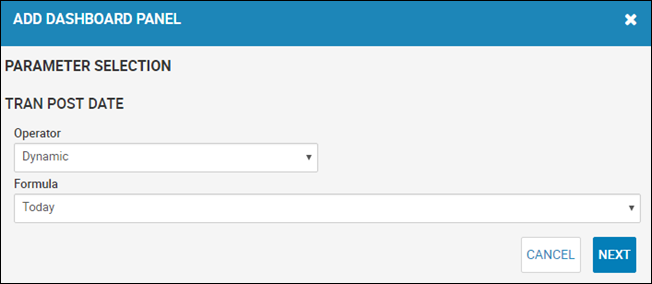
- Choose parameters, and click Next.
The Layout and Title Selection section appears.
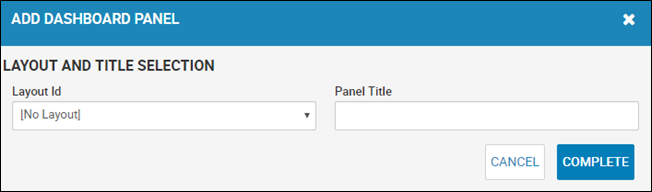
- Choose the layout, and type the panel name.
- Click Complete.
You return to the dashboard, and your new panel is added.
- Click the Save icon
 .
.
Your report is added.
From your dashboard, you can:
- Click and drag to rearrange the items.
- Click the Edit icon
 . The Edit Dashboard Panel pop-up window opens where you can make changes.
- Click the Delete icon
 to remove it from your dashboard.
 - Click Add Dashboard Panel to add another dashboard.
- Click the Cancel icon
 to leave the page without saving.
 - Click the Save icon.