View or Edit a Queue
- From the left navigation pane, click the Settings icon
 and choose Queue Manager.
The Queue Manager List tab opens a list of queue groups.
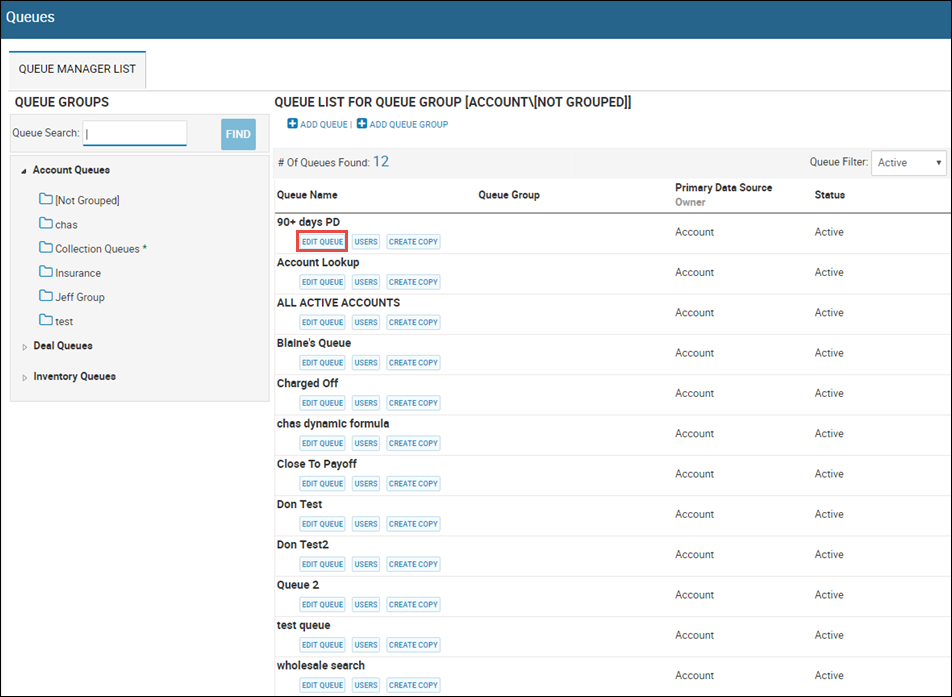
- Click Edit Queue.
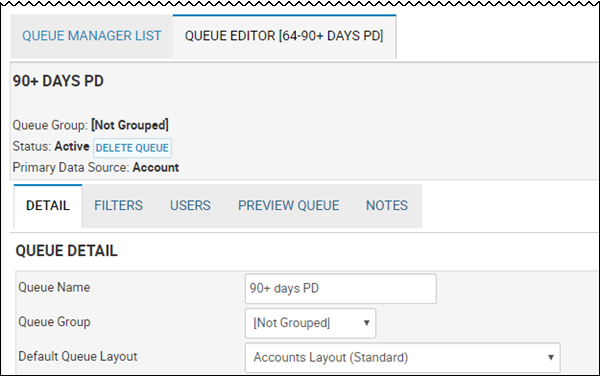
The Queue Editor tab opens the Detail sub-tab by default.
-
Edit queue details, and click Update Queue.
This video provides an overview of primary management groups in IDMS.
- From the Detail sub-tab, click Delete Queue.
A confirmation pop-up opens.
- Click Delete Queue.
- Click the Filters sub-tab.
Queue filters appear.
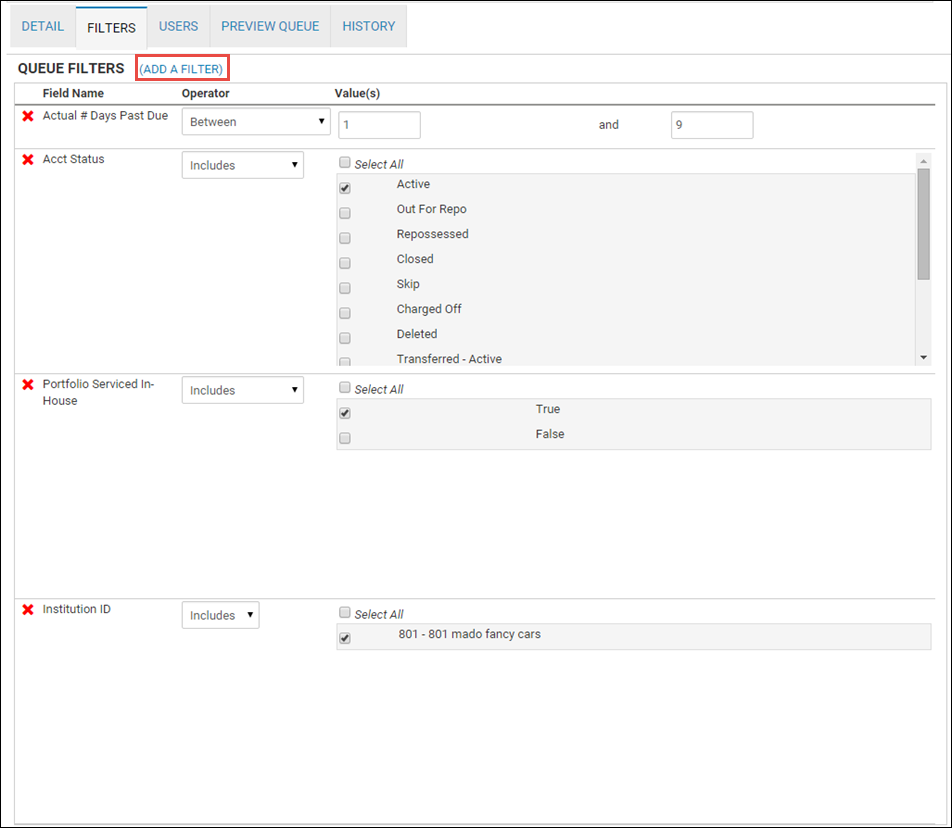
- Change any filters, and click Update Queue.
To add a filter during the Internet Marketing process, see Assign Internet Marketing, as it has specific criteria and steps.
- Click Add a Filter to create a new one.
Filter criteria opens in the Primary Datasource section.
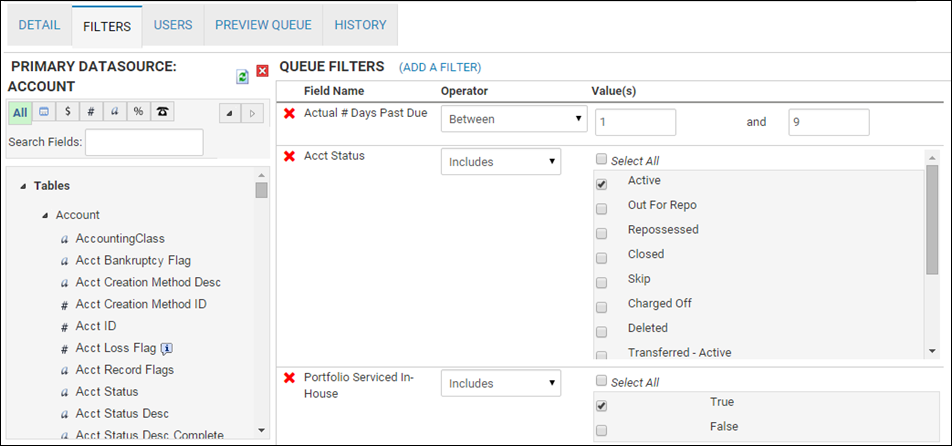
- Search by clicking the Dates, Money, Fields, Text, Percentages, and Contact Info icons, and choose the fields to add.
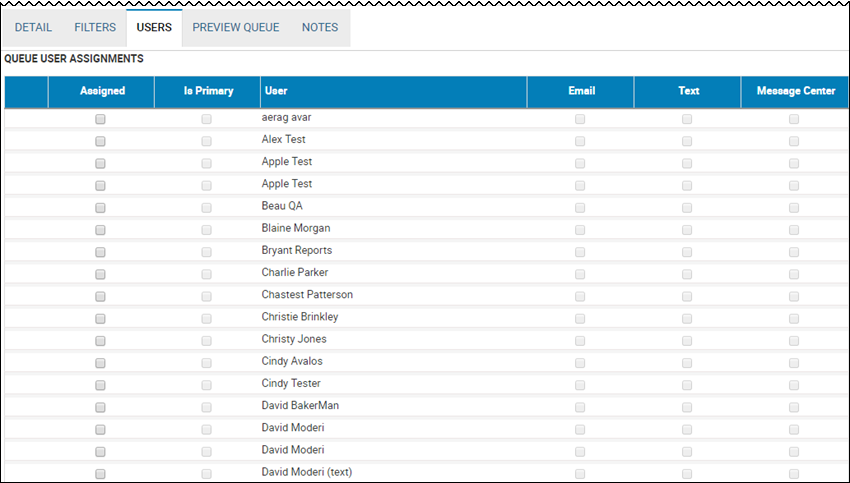
- Click the Users sub-tab.
The Queue User Assignments section lists users assigned to the queue.
- Check the Assigned box for the user you want to add to the queue.
- Check any or all of the Email, Text, or Message Center boxes if you want the user to receive notifications.
- Click Update Queue.
Click the Preview Queue sub-tab.
A preview of the records that match the queue criteria are listed. The records are view-only.

Click the Notes sub-tab.
A history of actions on this queue displays.