Add Applicant Information
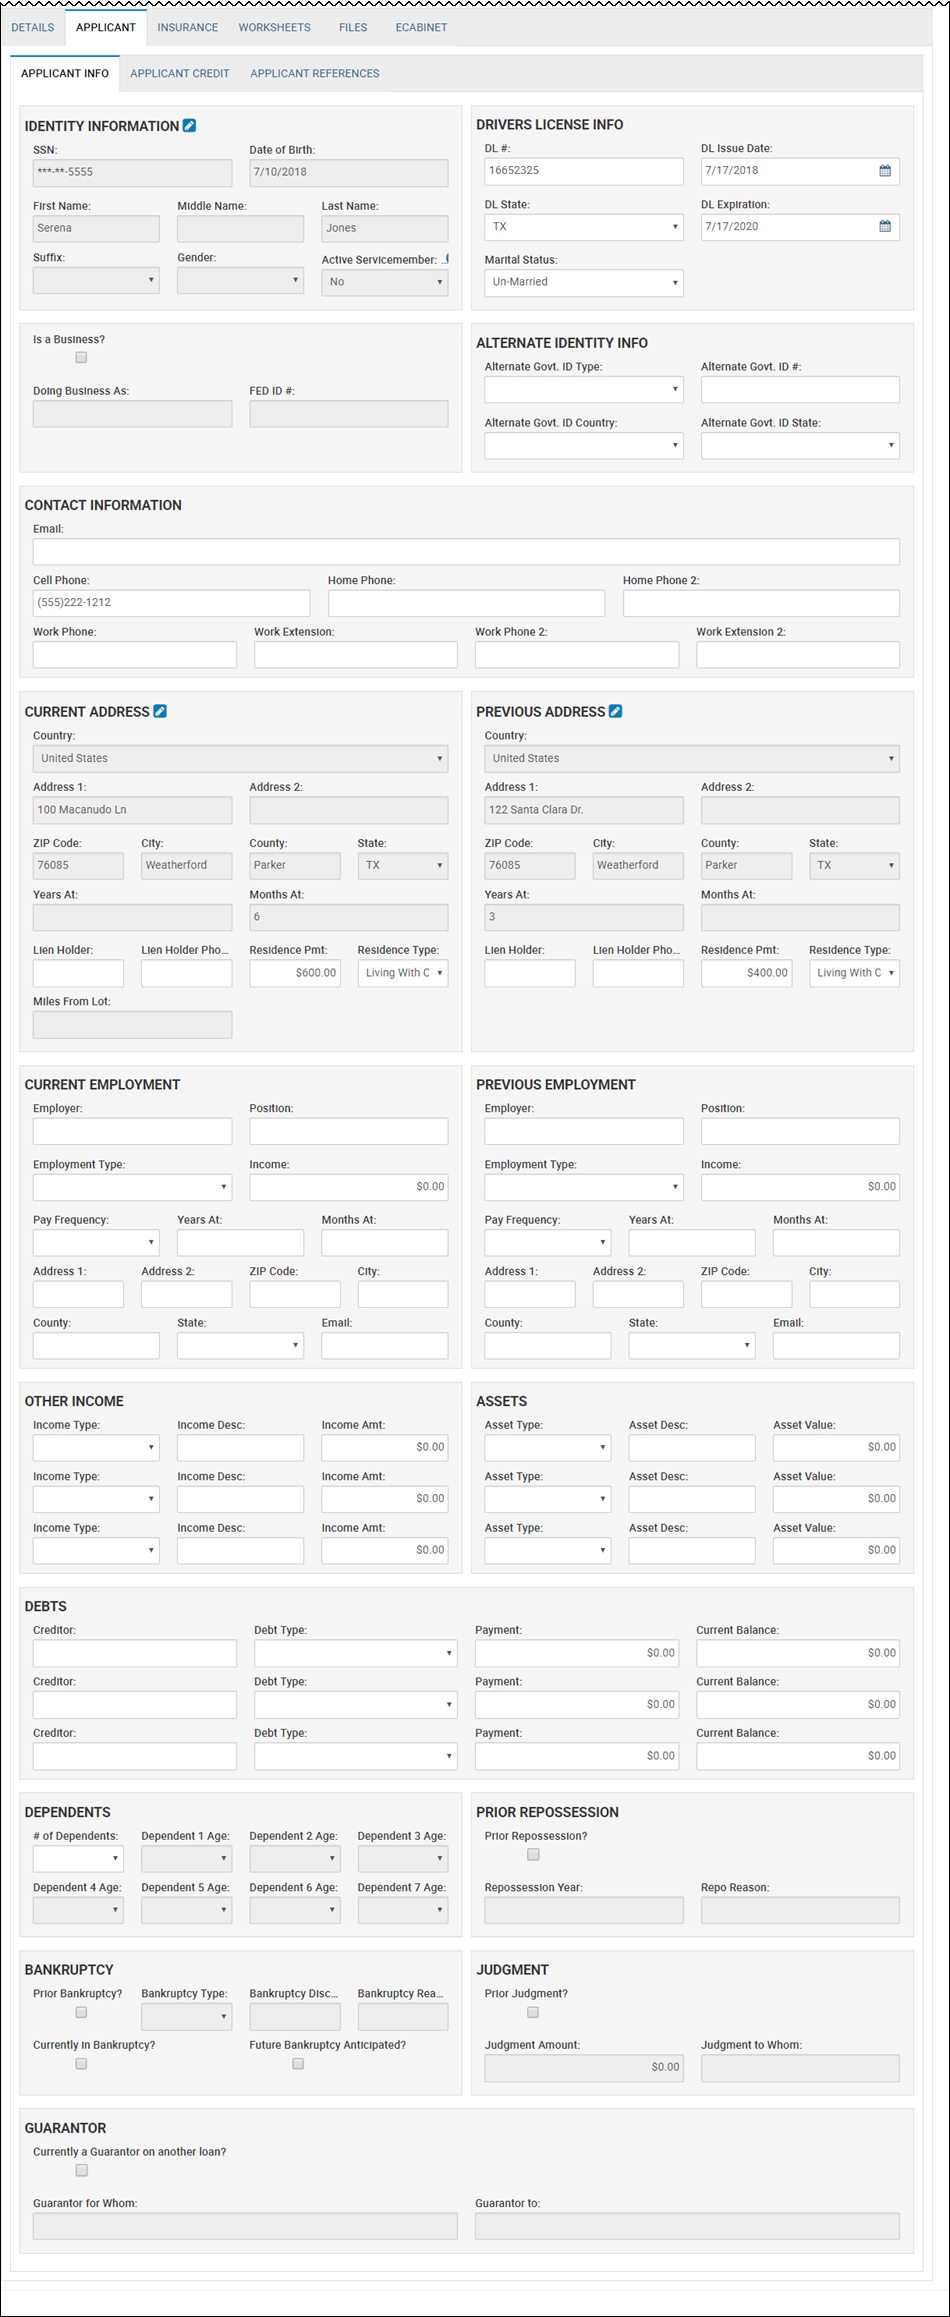
Initially, adding basic applicant information occurs during the Add Deal process. At this point, an applicant name has been assigned, but you can add more details by clicking the Edit icon ![]() in the Identity Information section. You can also change to a different or new applicant as long as the deal is not contracted. The Applicant and Co-Applicant tabs also have several sections to add information to for the first time. If the application is individual and not joint, the co-applicant tabs do not appear.
in the Identity Information section. You can also change to a different or new applicant as long as the deal is not contracted. The Applicant and Co-Applicant tabs also have several sections to add information to for the first time. If the application is individual and not joint, the co-applicant tabs do not appear.
See Adding a Retail Deal.
- From the Deal page, click the Applicant tab.
Several sections display. The Applicant Info sub-tab opens by default.
-
Complete the sections, and click the Save icon
 .When the status for a deal is Contracted or Contracted/Booked, the Applicant Info fields are locked to prevent information from being edited.
- Click the Co-Applicant tab.
The Co-Applicant Info, Co-Applicant Credit, and Co-Applicant References sub-tabs appear.
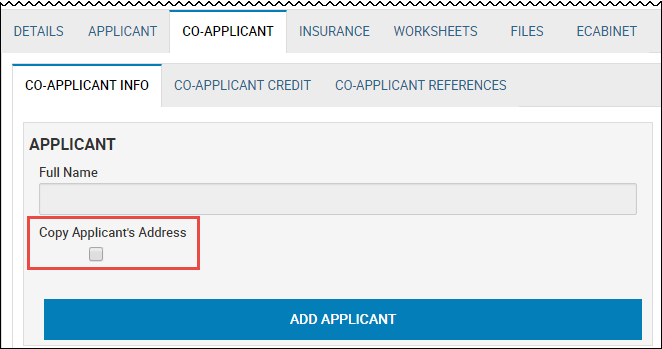
- Complete the fields as you did for applicant.
- Click the Edit icon
 .
.
The Edit/Select Applicant pop-up window opens.
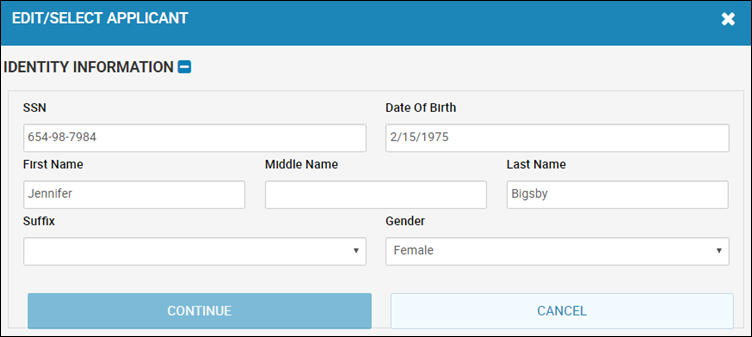
- Edit the fields, and click Continue.
The Update Identity button appears.
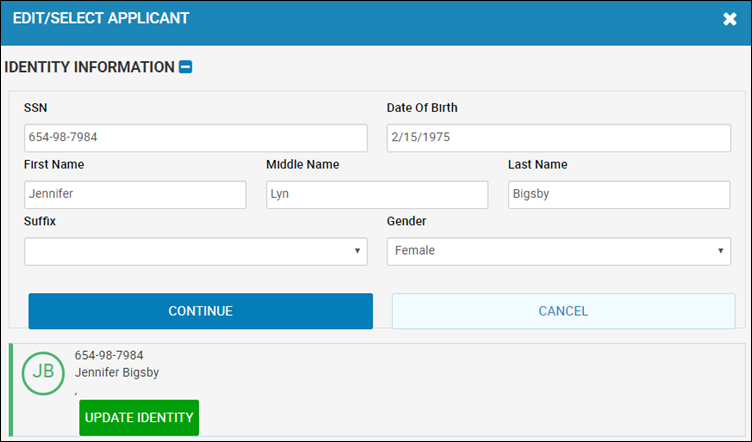
- Click Update Identity.
You return to the Applicant tab, and the Identity Information section is updated.
- In the Contact Information section, click Add/Change Texting Authorization.
The Texting Authorization pop-up window opens.
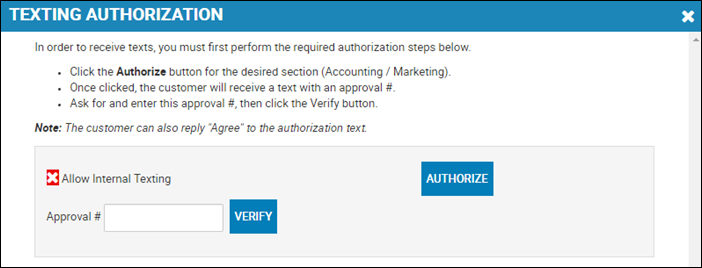
- Click Authorize for the type of texts the person is allowing.
The person receives a text with an approval code that you need to ask for and enter. Or, the person can reply to the text with the word "Agree".
- Type the Approval #, and click Verify.
- Close the pop-up window.
- Click Add/Change Texting Authorization.
The Texting Authorization pop-up window opens.
- Click Unsubscribe for the type of texts the person no longer wants to receive.
- Close the pop-up window.