View or Edit a Channel
- From the left navigation pane, click the Settings icon
 and choose Channels.
The Channels List page opens a list of current channels.
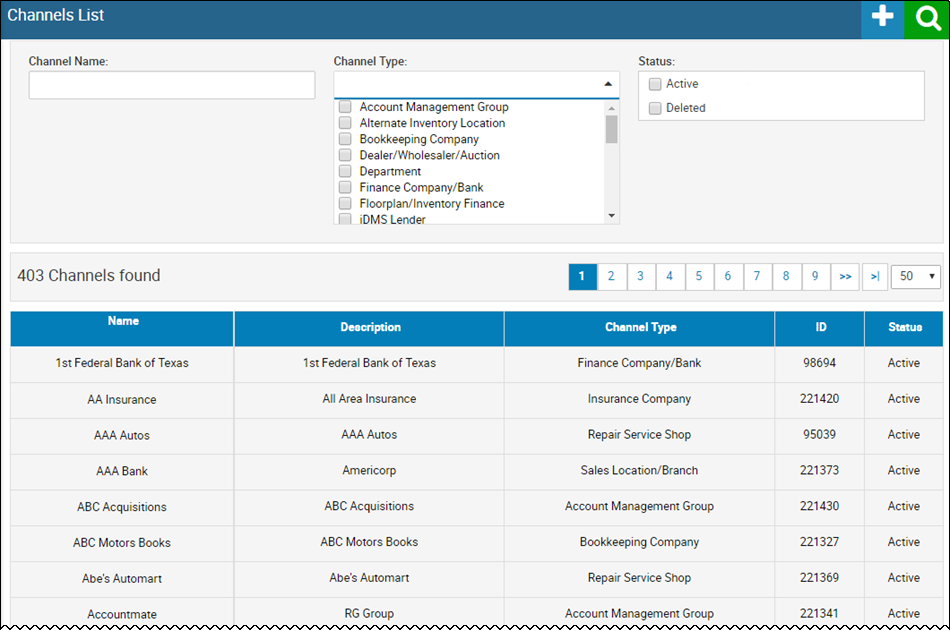
- Choose the channel you want to open.
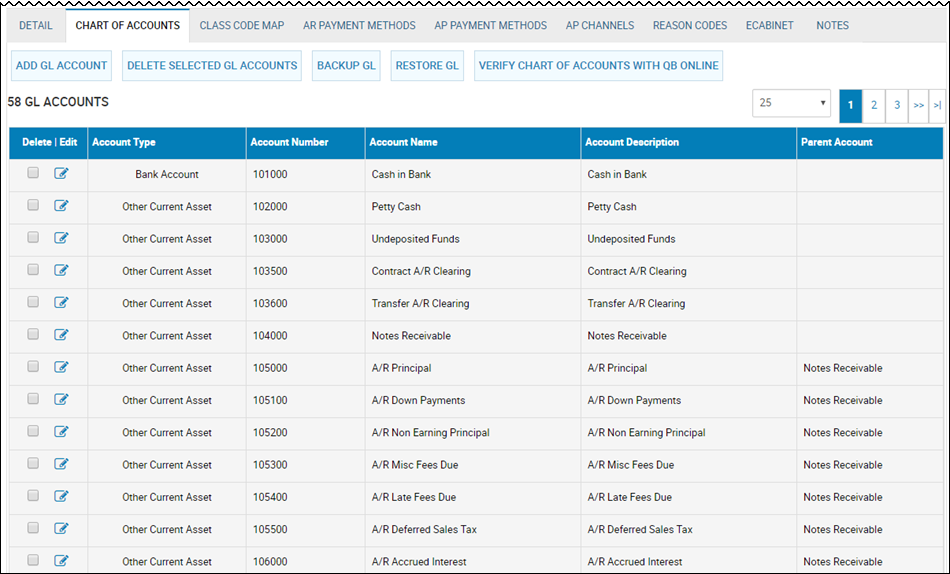
The Channel Editor tab opens, and the Detail sub-tab opens by default.
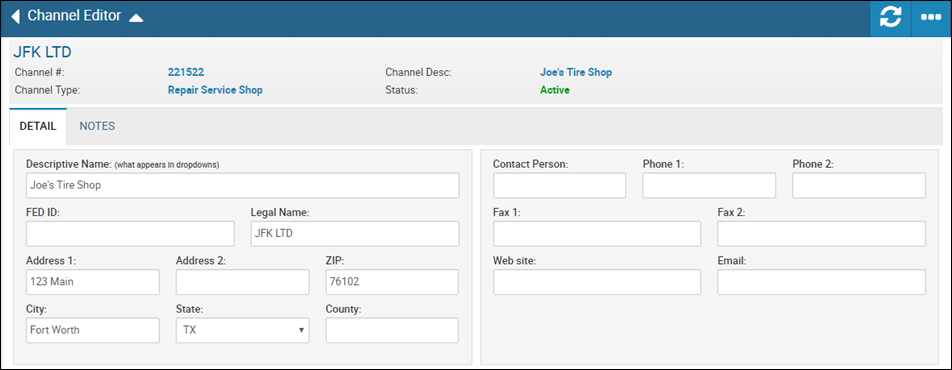
- Edit any information, and click the Save icon
 .
.


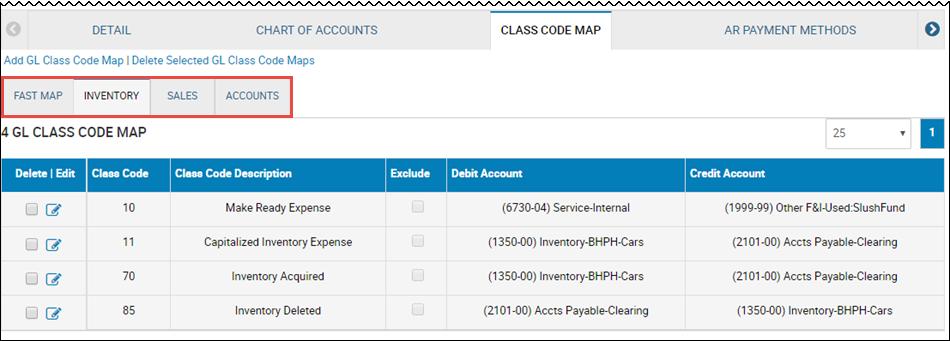
Class Code Map offers four sub-tabs. The default is Inventory, but it also includes Sales, Accounts, and Fast Map (used as a one-time setup).
You can specify the default expense class code as either Expense/Make Ready or Asset/Inventory Improvement based on the status of the vehicle.
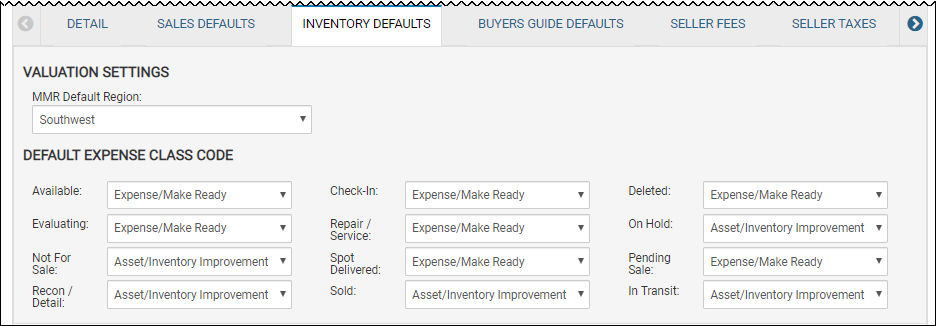
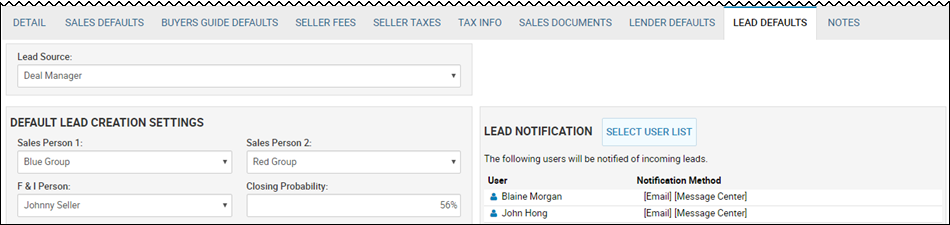
- Complete or change any default fields.
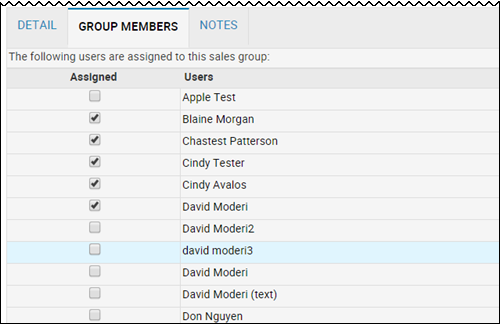
- Click Select User List to open the user list.
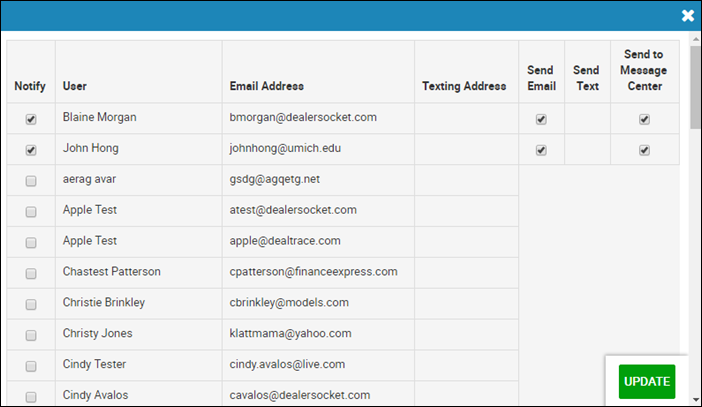
- Check the box next to the salesperson you want to include for leads information.
The Send Email and Send to Message Center checkboxes enable.
- Check the boxes for the communication methods you want the salesperson to receive for leads.
- Click Update.
These defaults determine the information that pulls over into the deal worksheet.
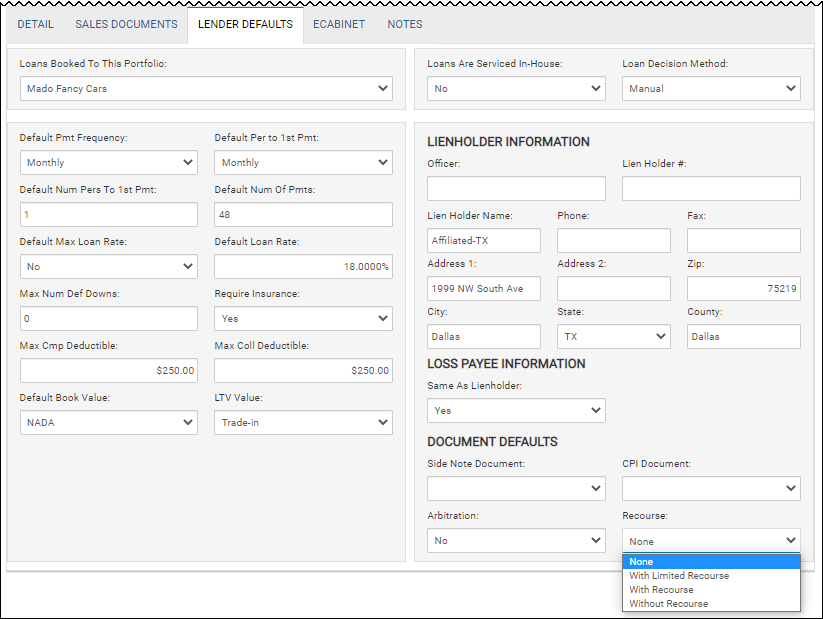
See Decisioning.
These defaults determine the information that pulls over into the deal worksheet.

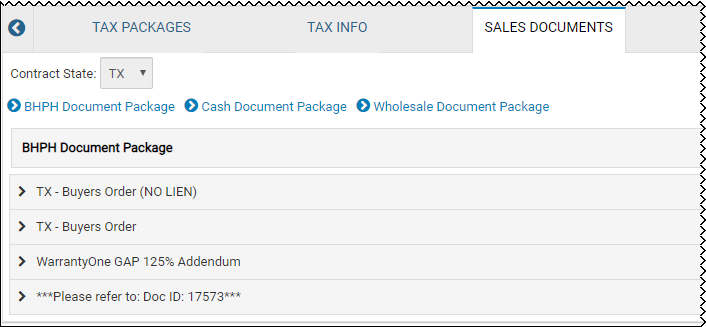
See Creating Deal Document Packages.
- Click the document package link to view which documents are set for pre-selection when you go to print forms for that type of deal.
- Click the link to open the document list.

- Click the Add icon
 to add the document to the list.
- Click Save Document Package.
These defaults determine the information that pulls over into the deal worksheet on the Taxes/Fees tab.
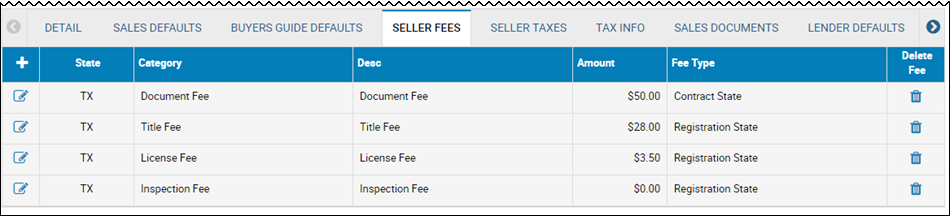
To edit fees
- Click the Edit icon
 .
.
The Edit Fee pop-up window opens.

- Edit applicable fields, and click Update.
To add new fees
- Click the Add icon
 in the column header.
The Add Fee pop-up window opens.
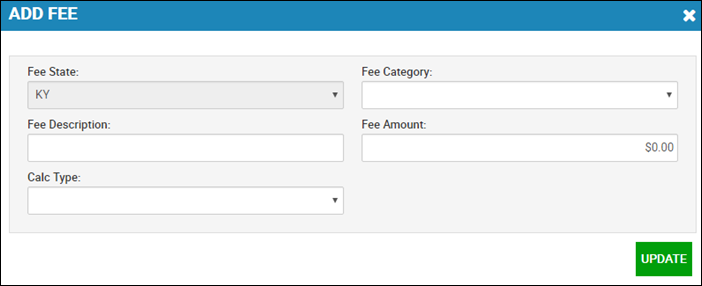
- Complete the fields, and click Update.
To delete fees
- Click the Delete icon
 .
.
The Delete Fee pop-up window opens.

- Click Delete.
These defaults determine the information that pulls over into the deal worksheet on the Taxes/Fees tab.

To edit taxes
- Click the Edit icon .
The Edit Tax pop-up window opens.
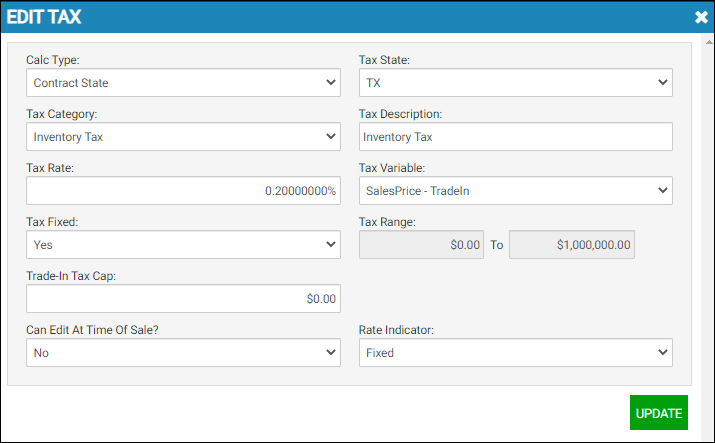
- Edit applicable fields, and click Update.
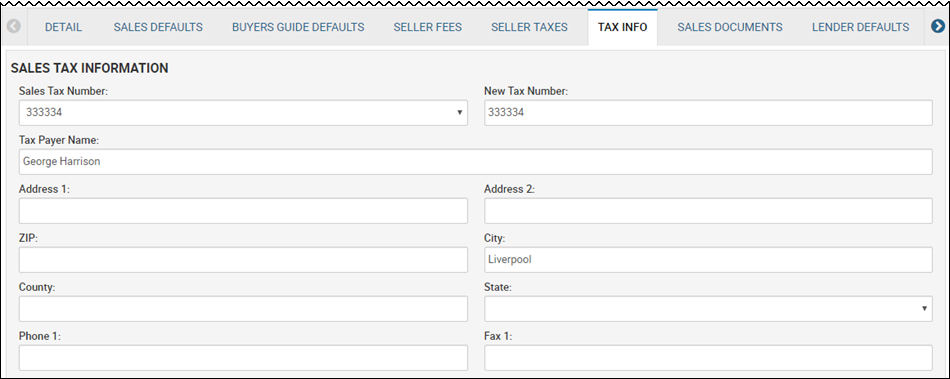
To add new taxes
- From the left navigation pane, click the Settings icon and choose Channels.
- Choose Sales Location/Branch from the Channel Type drop-down menu and click the Search icon
 .
. - Click the row for the desired sales location.
- Click the Seller Taxes tab.
- Click the Add icon in the column header.
The Add Tax pop-up window opens.
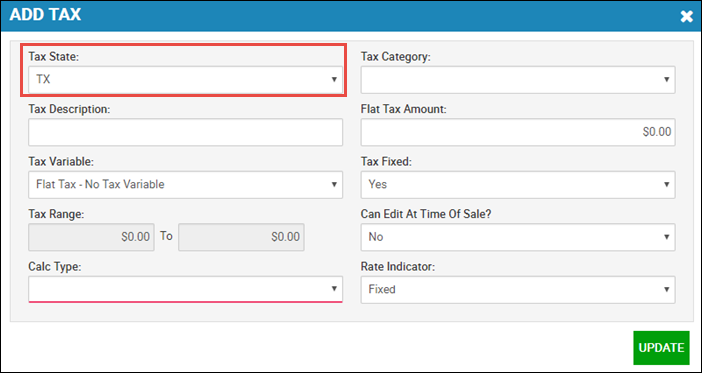
-
Complete the fields, and click Update.
This is no limit to the number of taxes that can be added. Dealers can create taxes to accommodate the various local, state, and federal tax requirements.
To delete taxes
- Click the Delete icon .
The Delete Tax pop-up window opens.
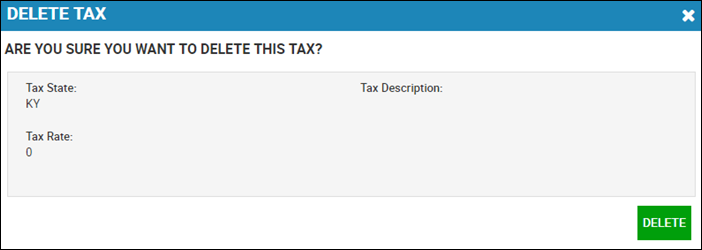
- Click Delete.
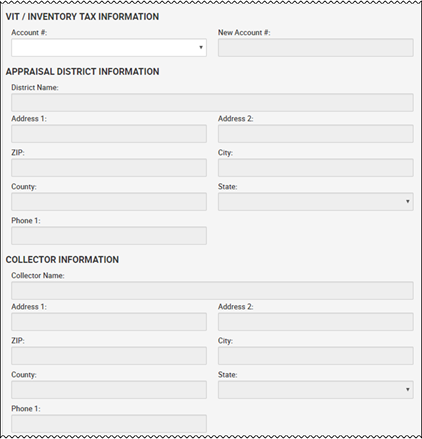
These defaults determine the information that pulls over into the deal worksheet on the Taxes/Fees tab.
For Texas dealers only, the VIT in Inventory Tax Information section is included, which offers appraisal and collector information.
These defaults determine the information that pulls over into the deal worksheet on the Taxes/Fees tab.
To edit taxes
- Click the Edit icon .
The Edit Tax Package pop-up window opens.
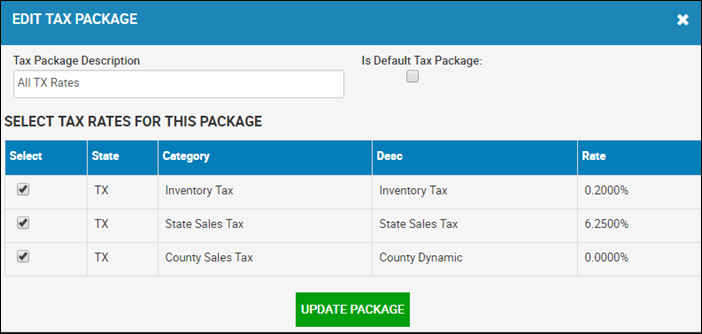
- Edit applicable fields, and click Update Package.
To add a new tax package
- Click the Add icon in the column header.
The Create New Tax Package pop-up window opens.

- Complete the fields, and click Update Package.
To delete a tax package
- Click the Delete icon .
A confirmation pop-up window opens.
- Click Yes.