Add a New Flag
Flags appear on the header of records such as inventory, accounts, and deals throughout IDMS. The flag you see depends on the module it belongs in. For example, you will not see a vehicle being serviced for repair when viewing a past due account, because that type of flag is in inventory. You can add a flag and assign it a module, so it displays in the correct record.
This video provides an overview of flags in IDMS.
- From the left navigation pane, click the Settings icon
 and choose Flags.
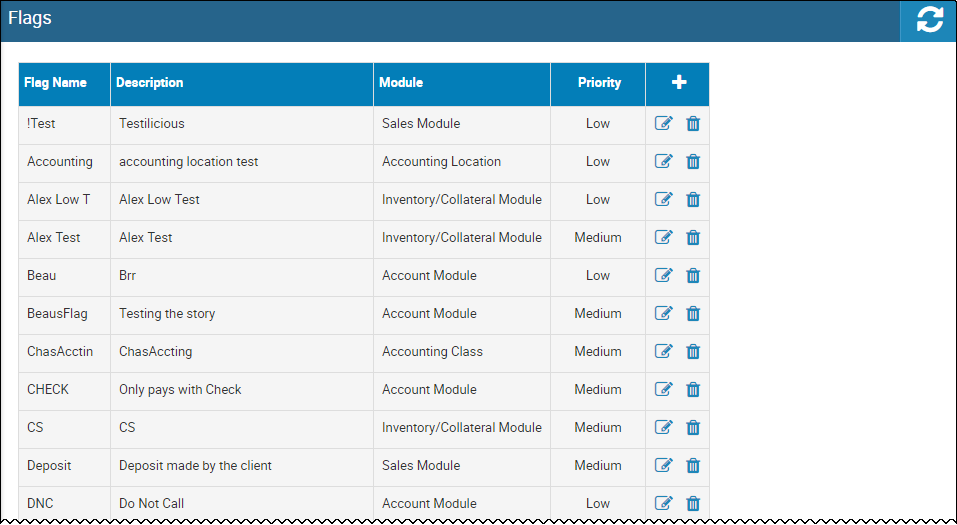
The Flags page opens a list of current flags.
- Click the Add icon
 .
.
The Add Flag pop-up window opens.

- Type the Flag Name and Description.
- Choose the Module the flag will appear in, such as accounts, inventory, or deals.
- Set the Priority for the flag.
The priority you assign here determines the order it is listed in on the header cards in its module. High priority flags are listed first. Informational flags are listed last. If you do not select a priority, it defaults to Low.
- Click Add Flag.
The new flag appears on the flag list.