Assign Internet Marketing
When assigning internet marketing, you are flagging the inventory to tell IDMS which syndication channels the inventory should go to. This is most commonly used for sending inventory to third-party websites for marketing purposes.
Only vehicles in Available status will be sent in Inventory feeds.
Each vehicle in IDMS has an Internet Marketing Uploads section on the Pricing tab of the vehicle. You can manually change the Internet Marketing Uploads on each vehicle by going to the Inventory page, finding the vehicle you want to change, and selecting or de-selecting the boxes, as in the example below.
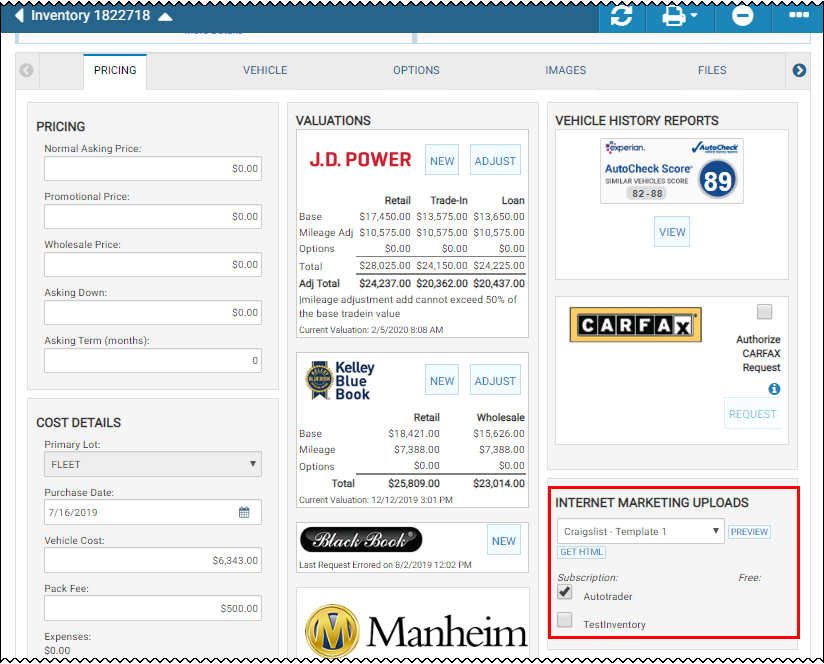
Each night when the feeds are programmed to go out, the system will send every vehicle that is Available in each of the feeds that has the box in this section checked at the time the feed runs.
This video provides an overview of inventory feeds in IDMS.
Determine which feeds are selected for new inventory
- From the left navigation pane, click the Settings icon
 and choose Institution.
The Institution Settings page opens.
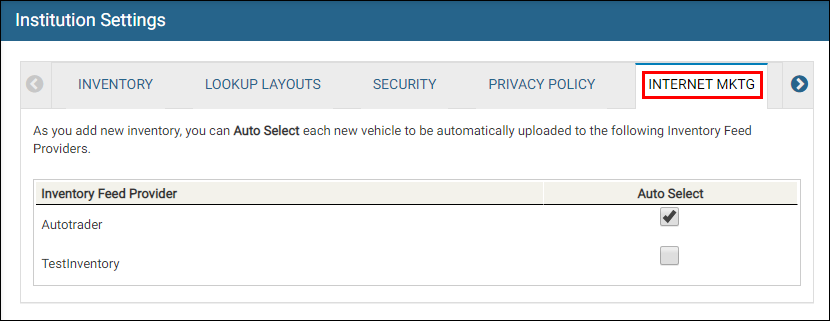
- Click the Internet Marketing tab.
- Check each box for the feed desired.
-
Click the Save icon
 .The selected feeds apply to all of your new inventory. The options selected will be checked for each new inventory item when you add it to the system.
Using automated tasking to assign internet marketing
You can use the Automated Tasking feature if you need to make a change to the way you have assigned internet marketing going forward. Changing the options in the Internet Marketing tab of the Institution Settings will only affect new inventory that is added in the future. If you have a number of vehicles currently available and you want to update those vehicles to stop sending in one or more feeds and/or start sending in one or more different feeds, you can set up a queue that will pull all of your current inventory into a task and run that task to check and uncheck the Internet Marketing Options, either one-time or daily. Having the task run daily can give you peace of mind that all of your inventory will be selected for the correct feeds each night, but it is unnecessary to the feeds actually sending.
Another use for Automated Tasks is if you have a situation where you want some of your vehicles to go to certain third parties, but not other vehicles. For instance, if you have two lots and one of those lots needs to be sent to CarGurus each night but the other lot does not need to not be sent to CarGurus, you can accomplish this with an Automated Task.
- From the left navigation pane, click the Settings icon and choose Institution.
- Click the Internet Marketing tab.
The Inventory feeds are displayed.
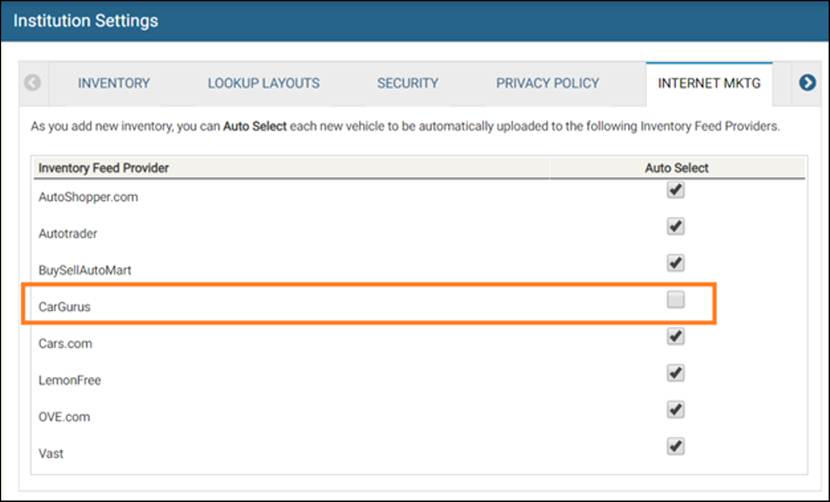
- Uncheck the box for each feed you do not wish new inventory to upload. For this example, CarGurus is unchecked.
- Click the Save icon .
-
From the left navigation pane, click the Settings icon
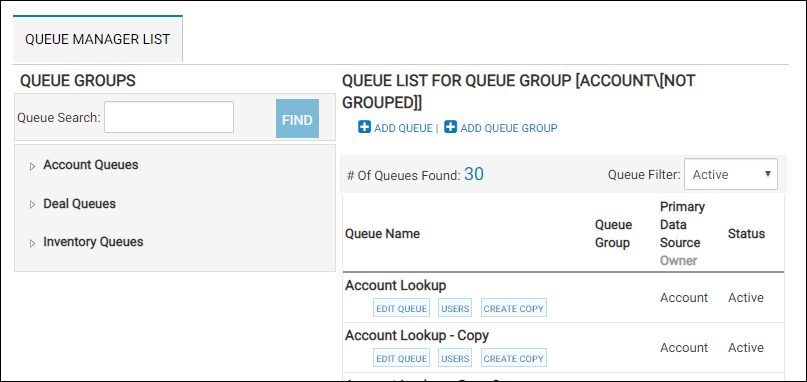
and choose Queue Manager.The Queue Manager List is displayed so we can create a queue for all the vehicles we want to send to CarGurus.
-
Click Add Queue.
The Queue Editor tab is opened.
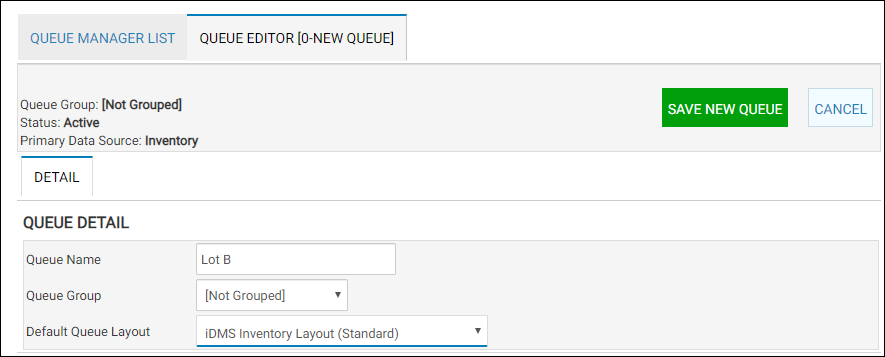
- Type your information.
-
Click Save New Queue.
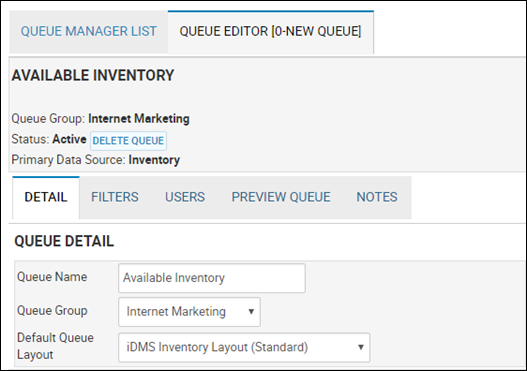
New tabs are displayed.
- Click the Filters sub-tab, and click Add a Filter.
The Primary Datasource for Inventory opens.
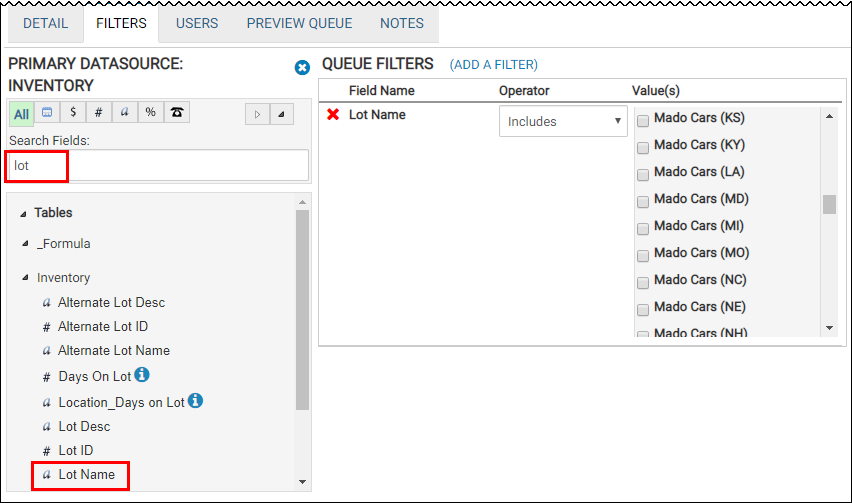
- Locate the Lot Name filter, and select it.

-
Check the box for the lot.
This will select all the vehicles on the lot to send to CarGurus.
- Click Update Queue.
-
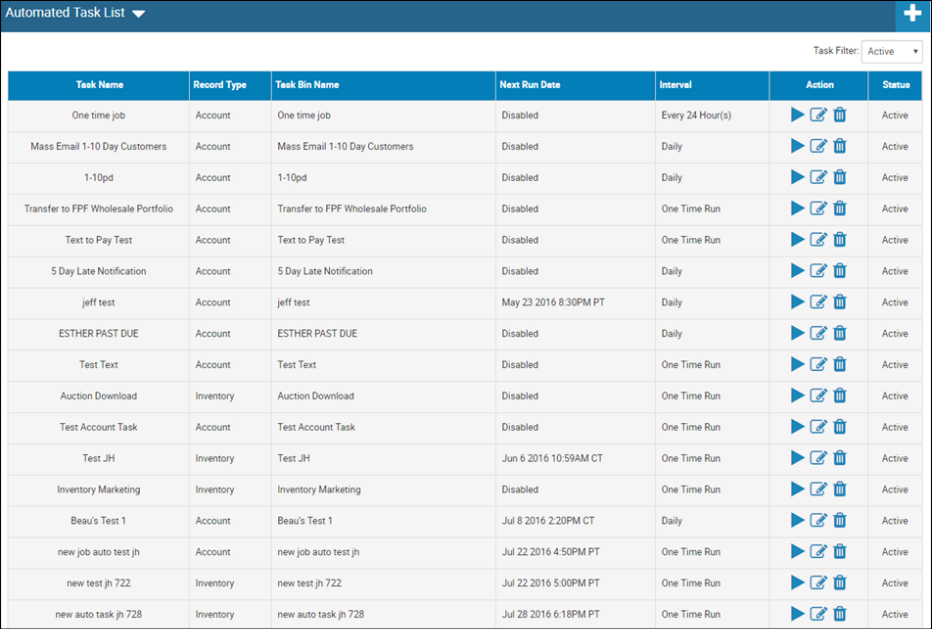
From the left navigation pane, click the Tasking icon
 and choose Automated Task.
The Automated Task List page opens and lists the current tasks.
-
Click the Add icon
 .
.The New Automated Task page opens.
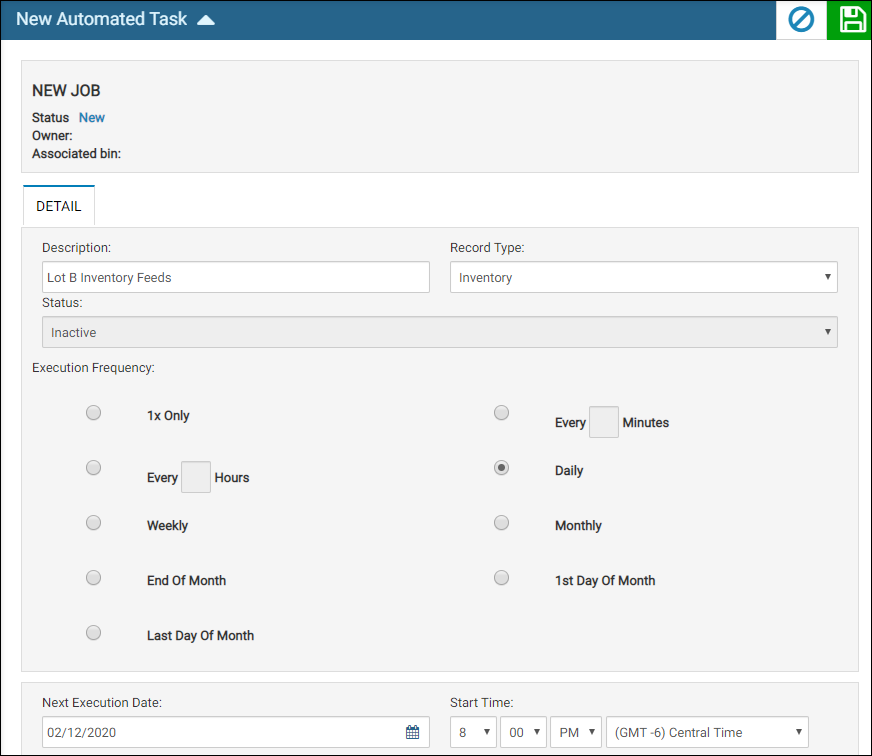
- Complete the information and click the Save icon .
- Click the Stepstab and for the Select Action field, choose Load Task Items.
- Choose the queue you created for this task from the Queuedrop-down list.
- Click the Save icon .
-
For the Select Action field, choose Assign Internet Marketing and select the desired feeds such as CarGurus. you want the vehicles to go to.
A list of marketing websites appears.
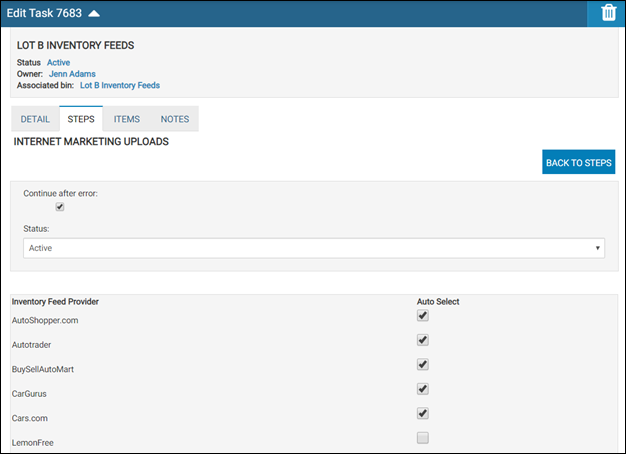
- Click the Save icon .
-
For the Select Action field, choose Clear Task Items and set the Statusfield to Active.
You should always have a Clear Task Items step at the end of every Automated Task you create. Otherwise, items will build up in the queue every time the task runs and can cause errors. This clears the items out of the bin so if you use this task in the future, it will not contain old records. - Click the Save icon .
-
Verify three steps are displayed on the Edit Task page.
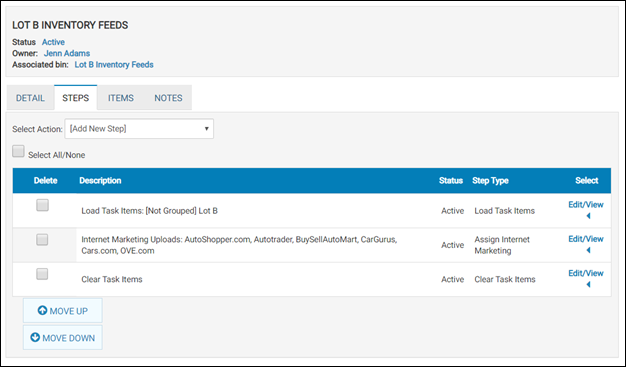 Verify that all the steps show Active in the Status column.
 -
Click the Detail tab and ensure the execution frequency and next execution date are set the way you want them to run.
The Detail tab settings are displayed.
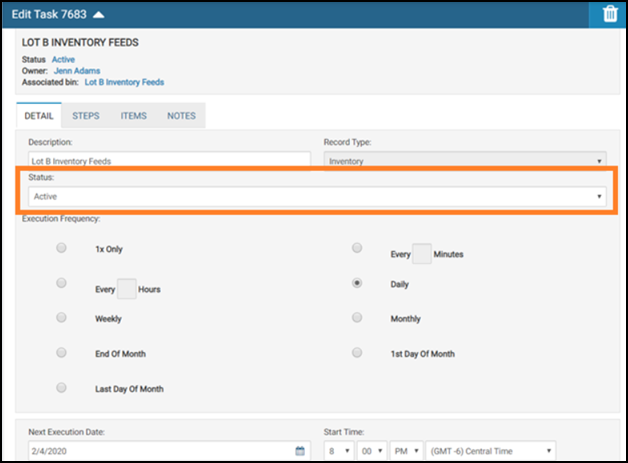
- For the Status field, choose Active.
- Click the Save icon .