Creating Deal Document Packages
You can create deal document packages in IDMS. Define which documents you want to print for finance, cash, and wholesale deals. When you go to print forms, those documents will already be preselected. See Printing a Deal Document Package.
Security Requirements
- In the left navigation pane, click the Settings icon
 and choose Users.
The User List page opens.
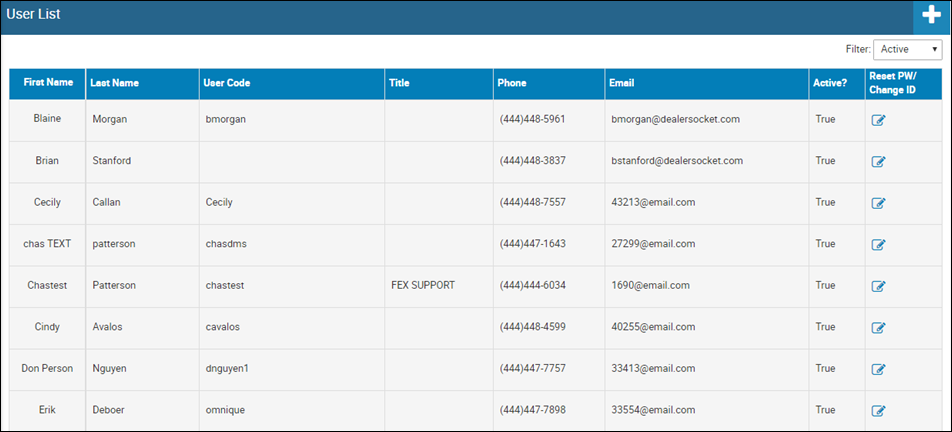
- Choose the user name.
The User Detail page opens.
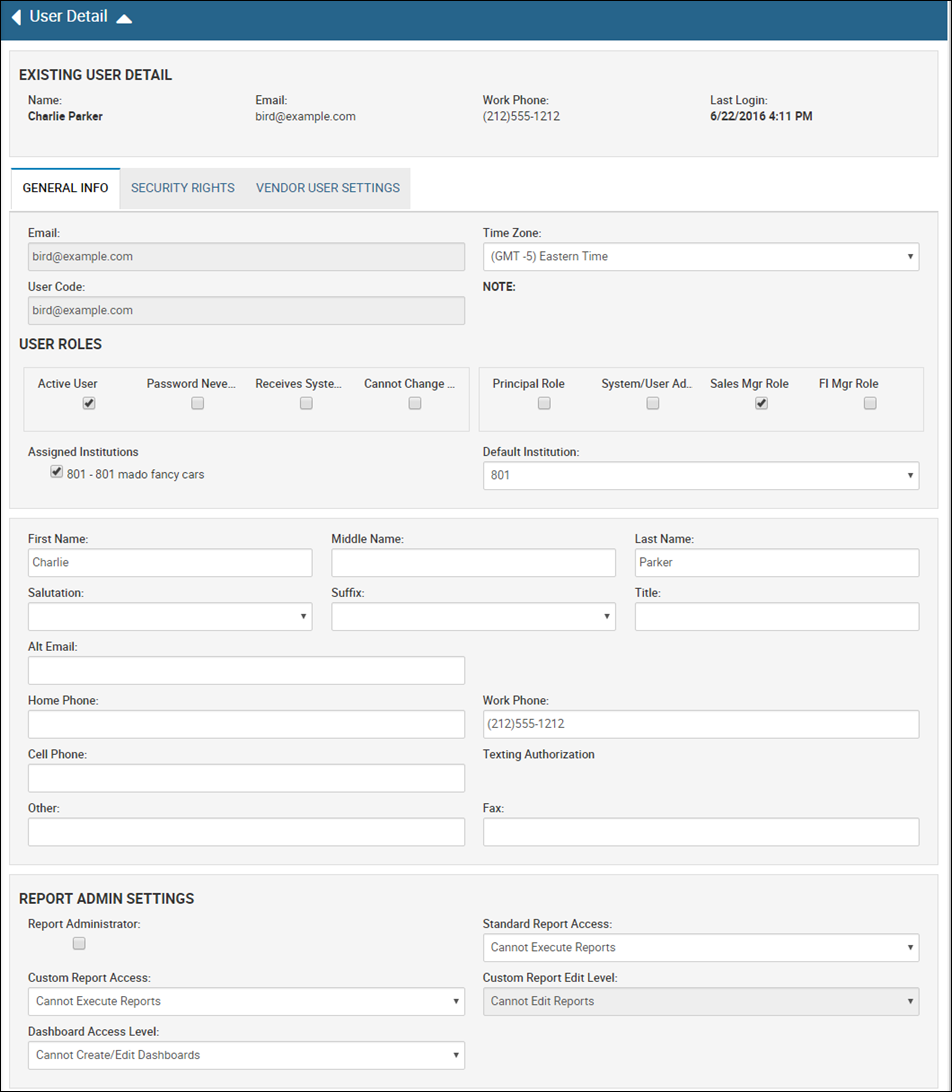
- Click the Security Rights tab.
- Scroll down to the Administrator Tools section.
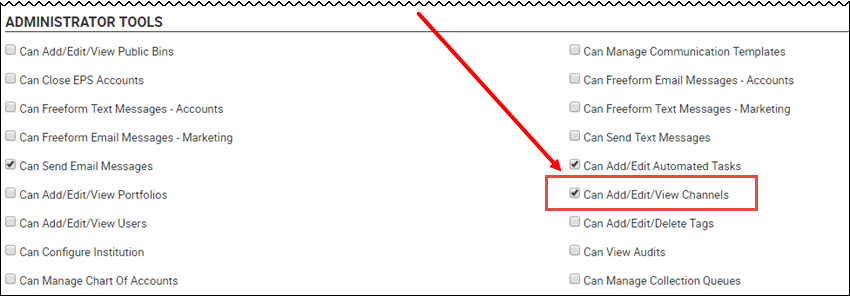
- Check the Can Add/Edit/View Channels security right box.
- Click the Save icon
 .
.
To create a Document Package (Sales Location)
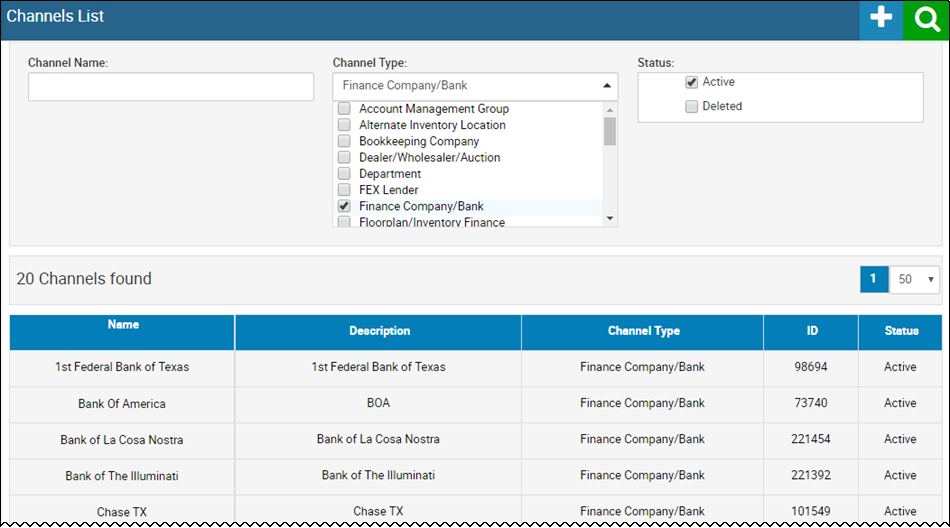
- In the left navigation pane, click the Settings icon and choose Channels.
The Channels List page opens.
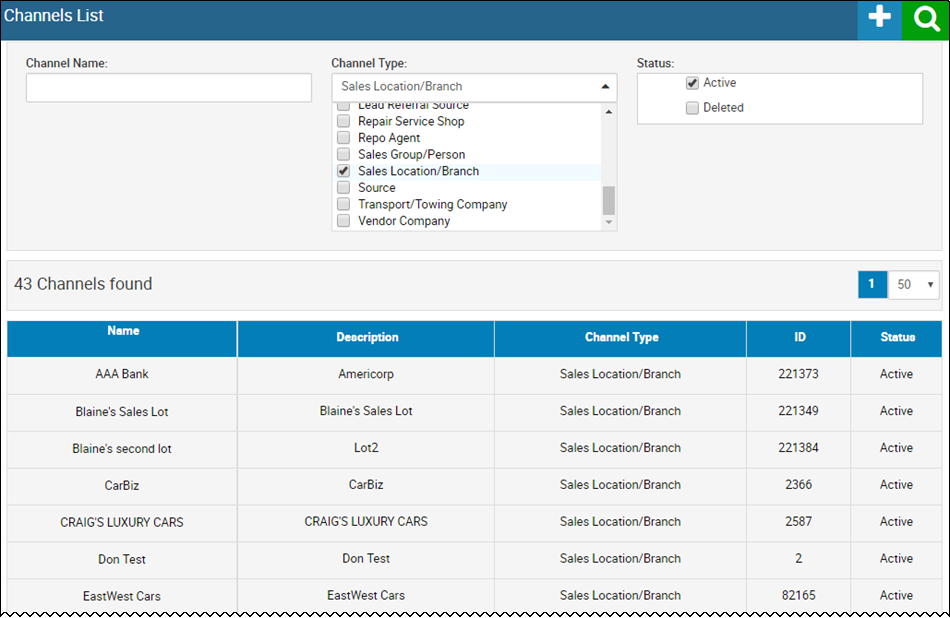
- In the Channel Type field, check the Sales Location/Branch box and click the Search icon
 , as shown above.
 - Locate the sales location, and choose it.
The Channel Editor page opens.
- Click the Sales Documents tab.
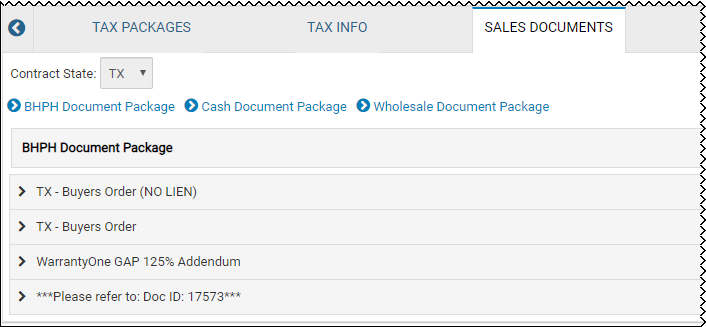
- Click the BHPH, Cash, or Wholesale Document Package link to add documents for that type.
- Click Click Here to Select Document List for the type you want to add documents for.
A pop-up window opens.
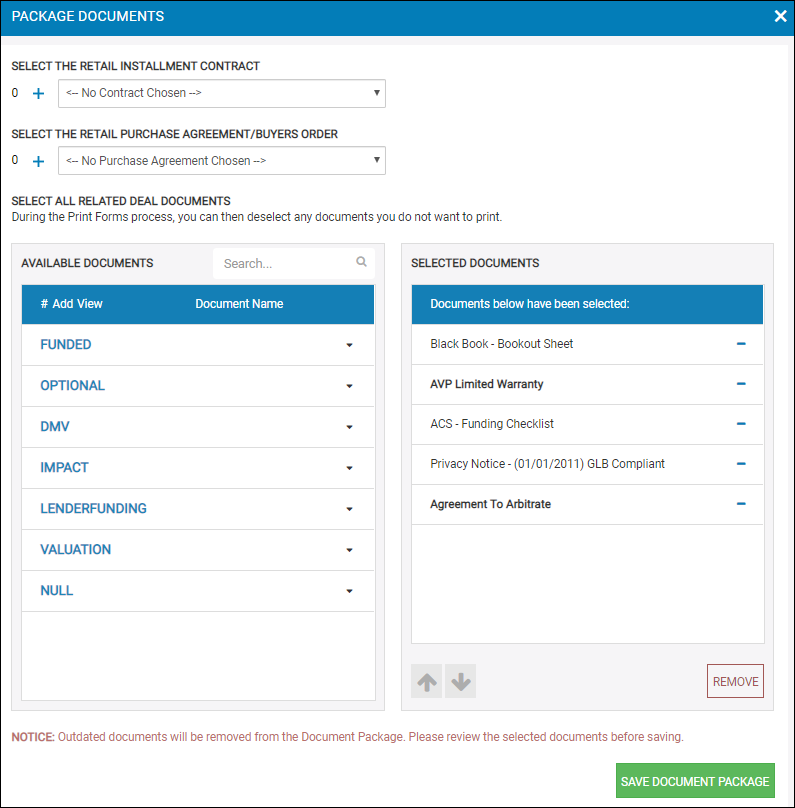
- If applicable, choose the type of contract. In the example above, the contract type Funded is expanded.
- Click the Add icon
 for each document you are adding to the document package.
The selected documents are listed on the right side and the number of times you’ve added it to the package is on the left. In the example, the Agreement to Arbitrate is added two times. When we print this document package from the deal, it will print two copies of that document.
You can also change the assigned contract, and by default, the selected contract will always be a part of a Finance document package. You then have the option of adding additional copies of the contract to the package.
- When you are finished, click Save Document Package.
You return to the Channel Editor page. The documents you selected are now listed in the Document Package.
- Repeat steps 6-9 for the other document packages.
To create a Document Package (Outside Finance Companies)
Follow the same steps for Sales Location except filter by Finance Company/Bank in the Channel Type field, as shown below.