Add, View, or Edit Images
You can add images in the Inventory module or in the Collateral area of the Accounts module.
See Adding Images, Adding a Watermark, Deleting Images, Enlarging Images
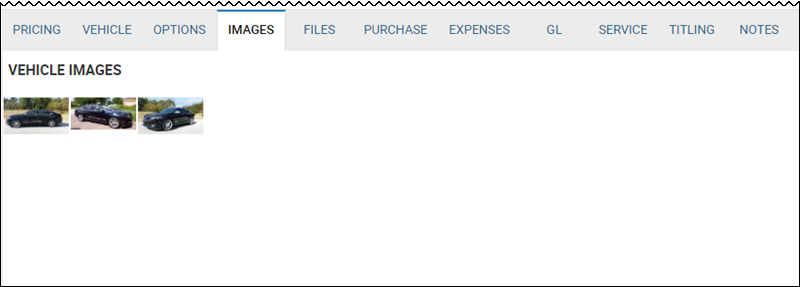
From the Inventory page or the Collateral tab on the Accounts page, click the Images tab or sub-tab.
The Vehicle Images section displays current images.
Adding Images
- From the Inventory or Account page, click the More icon
 and choose Add Image or Add Collateral Image.
The Add Images pop-up window opens.
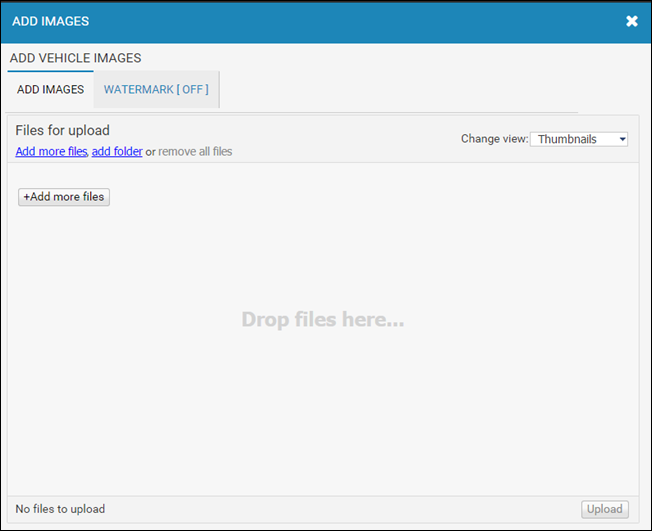
- Click Add more files.
- Locate the pictures on your computer or device.
- Choose the pictures you want to add, and click Open.
The pictures upload and appear in the window.

Note: Hover over an image to delete it, rotate it, or edit the title.
- Click Upload.
Adding a Watermark
You can add a watermark on all the pictures, so they cannot be copied without it. You must add the watermark to the pictures individually, and you cannot add it later.
- Click the Watermark (Off) tab.
The Add Images pop-up window shows the Add a Watermark check box.
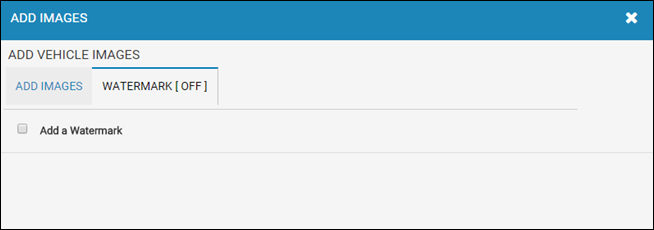
- Check the Add a Watermark box. The Watermark (Off) tab changes to Watermark (On), and watermark fields appear.
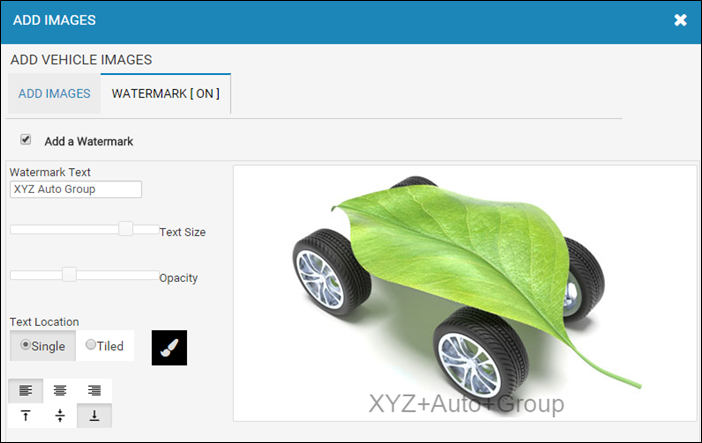
- Type the text you want in the Watermark Text field.
- Adjust the text size and opacity.
- Choose the text location.
Deleting Images
- Click or hover your mouse over the image you want to delete.
The View ![]() and Delete icons
and Delete icons ![]() display.
display.
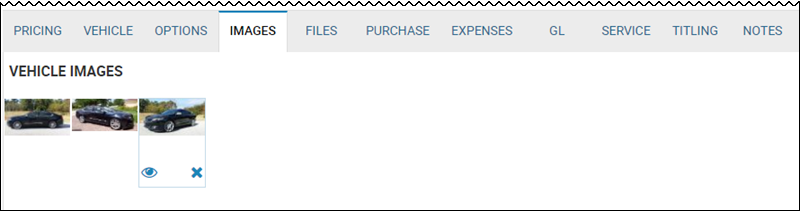
- Click the Delete icon.
- Click Save Changes.
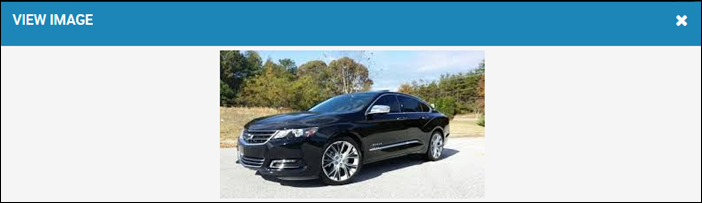
Enlarging Images
- Click or hover your mouse over the image you want to enlarge.
The View ![]() and Delete icons
and Delete icons ![]() display.
display.
- Click the View icon.
The View Image pop-up window opens.